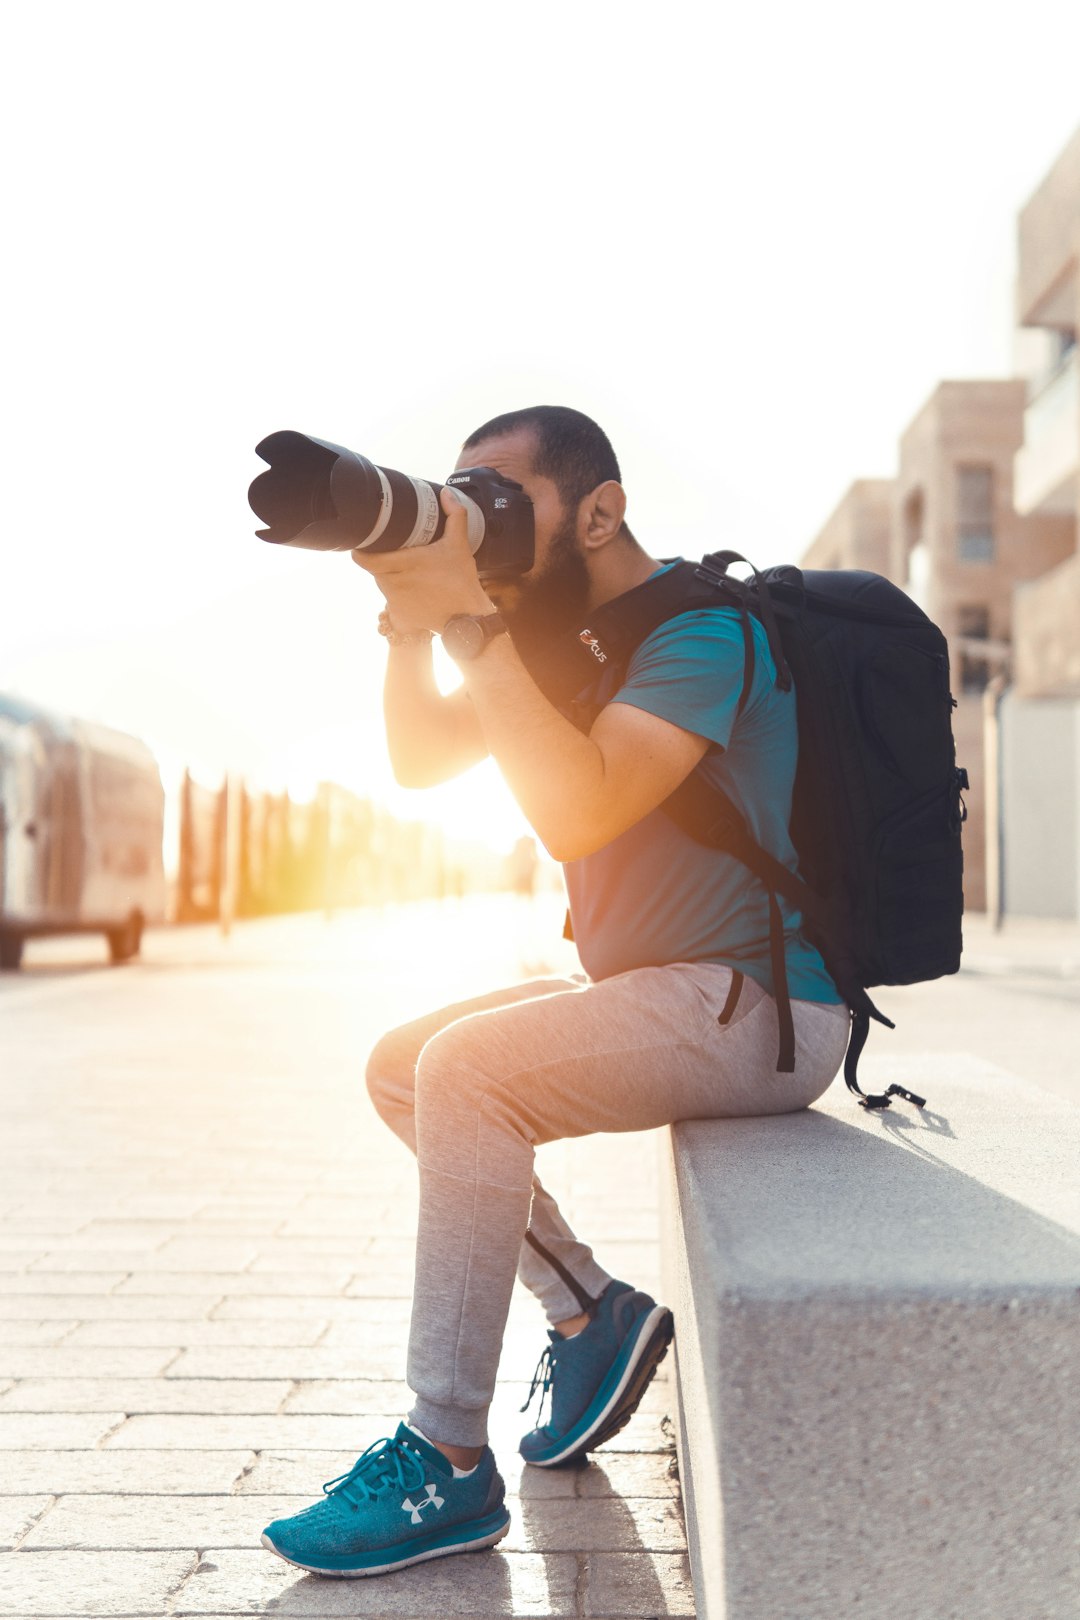
One of the biggest leaps in your photography journey happens when you move from automatic to manual settings. While modern cameras have sophisticated automatic modes that can produce good results, truly mastering your camera settings gives you creative control and the ability to capture images in challenging situations where automatic modes fall short.
In this comprehensive guide, we'll explore the three pillars of exposure—aperture, shutter speed, and ISO—and how to adjust them for various photography scenarios. Whether you're shooting portraits in low light, capturing fast action, or creating stunning landscapes, understanding these fundamentals will transform your photography.
The Exposure Triangle: Understanding the Fundamentals
Every photograph is created by a combination of three settings that control how light reaches your sensor: aperture, shutter speed, and ISO. Together, these form the "exposure triangle," and finding the right balance between them is key to successful photography.
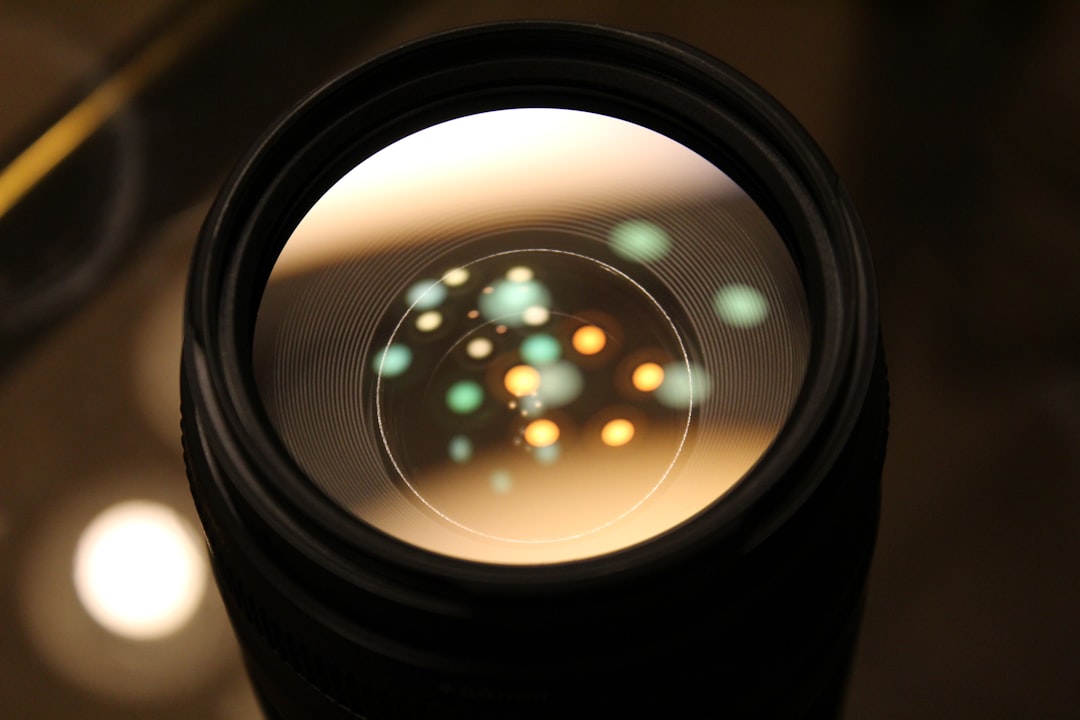
Aperture: Controlling Light and Depth
Different aperture settings and their effects on depth of field
Aperture refers to the opening in your lens that controls how much light passes through to the sensor. It's measured in f-stops (f/1.4, f/2.8, f/8, etc.), with smaller numbers representing larger openings.
What Aperture Controls:
- Light - Wider apertures (smaller f-numbers) let in more light
- Depth of field - Wider apertures create shallower depth of field (more background blur)
Common Aperture Settings and Their Uses:
- f/1.4 - f/2.8 - Portraits with creamy background blur; low-light situations
- f/4 - f/5.6 - General photography with moderate depth of field
- f/8 - f/11 - Landscape photography for maximum sharpness
- f/16 - f/22 - When you need extremely deep depth of field or for special effects like sunstars
Shutter Speed: Freezing or Blurring Motion
The effect of different shutter speeds on moving subjects
Shutter speed determines how long your camera's sensor is exposed to light. It's measured in seconds or fractions of a second (1/60, 1/250, 1/1000, etc.).
What Shutter Speed Controls:
- Light - Longer shutter speeds allow more light to reach the sensor
- Motion - Fast shutter speeds freeze action; slow speeds create motion blur
Common Shutter Speed Settings and Their Uses:
- 1/1000 and faster - Freezing fast action (sports, wildlife, kids playing)
- 1/250 - 1/500 - General action photography
- 1/60 - 1/125 - Static subjects in good light; minimum for handheld shooting
- 1/15 - 1/30 - Requires stabilization but good for intentional motion blur
- 1 second and longer - Night photography, light trails, waterfalls (tripod required)
ISO: Balancing Light Sensitivity and Image Quality
ISO determines your camera sensor's sensitivity to light. Higher ISO values make the sensor more sensitive, allowing you to shoot in darker conditions, but at the cost of increased noise or grain.
What ISO Controls:
- Light sensitivity - Higher ISOs allow shooting in lower light
- Image noise - Higher ISOs introduce more digital noise
Common ISO Settings and Their Uses:
- ISO 100-400 - Bright conditions with minimal noise
- ISO 800-1600 - Indoor photography or cloudy days
- ISO 3200-6400 - Low light situations where some noise is acceptable
- ISO 12800 and above - Very low light when image quality is secondary to getting the shot
Understanding Stops of Light
A "stop" of light represents either doubling or halving the amount of light. Understanding stops helps you make equivalent exposure adjustments:
- Changing aperture from f/4 to f/5.6 = 1 stop less light
- Changing shutter speed from 1/125 to 1/250 = 1 stop less light
- Changing ISO from 400 to 800 = 1 stop more sensitivity
If you adjust one setting by one stop in one direction, you can compensate by adjusting another setting by one stop in the opposite direction to maintain the same exposure.
Camera Modes: When to Use Each One
Modern cameras offer several shooting modes that provide different levels of control over exposure settings:
Manual Mode (M)
What it does: You control all three exposure elements (aperture, shutter speed, and ISO).
Best for: Studio work, landscapes, situations where lighting is consistent and you have time to adjust settings.
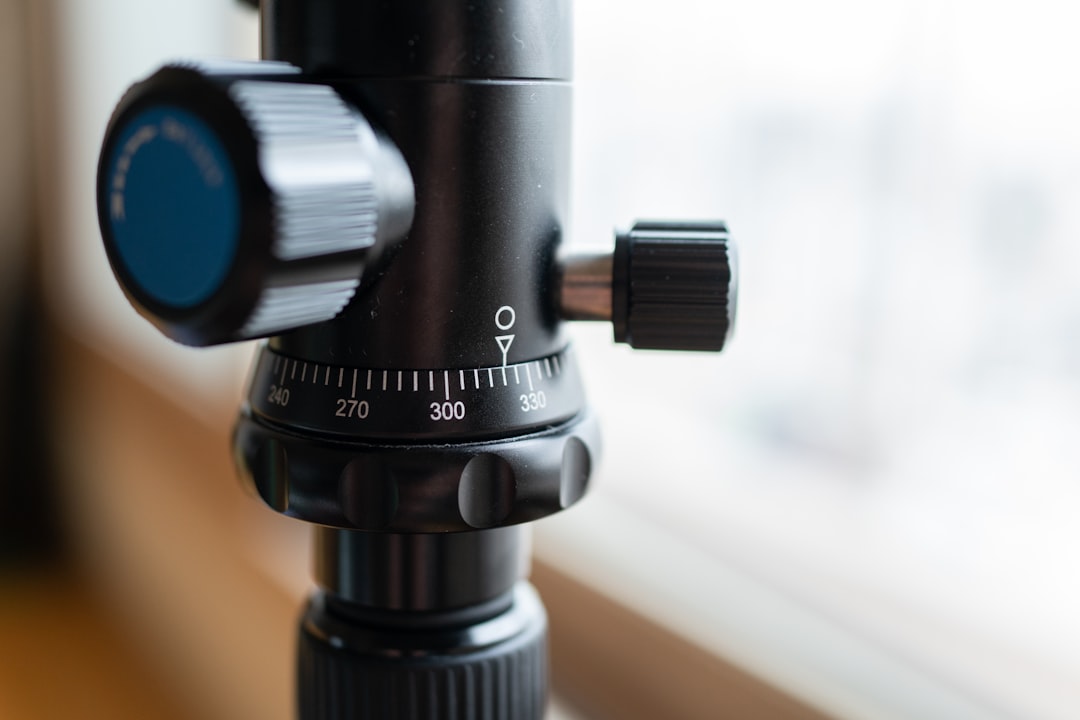
Aperture Priority (A or Av)
Camera mode dial showing different exposure modes
What it does: You set the aperture and ISO; the camera selects the appropriate shutter speed.
Best for: Portraits, landscapes, and situations where depth of field is your primary concern.
Shutter Priority (S or Tv)
What it does: You set the shutter speed and ISO; the camera selects the appropriate aperture.
Best for: Sports, wildlife, and any situation where freezing or blurring motion is your primary concern.
Program Mode (P)
What it does: Camera selects both aperture and shutter speed, but you can shift the combination while maintaining the same exposure.
Best for: General photography when you want some control but need to shoot quickly.
Setting Up for Specific Photography Scenarios
Now let's apply these concepts to common photography situations:
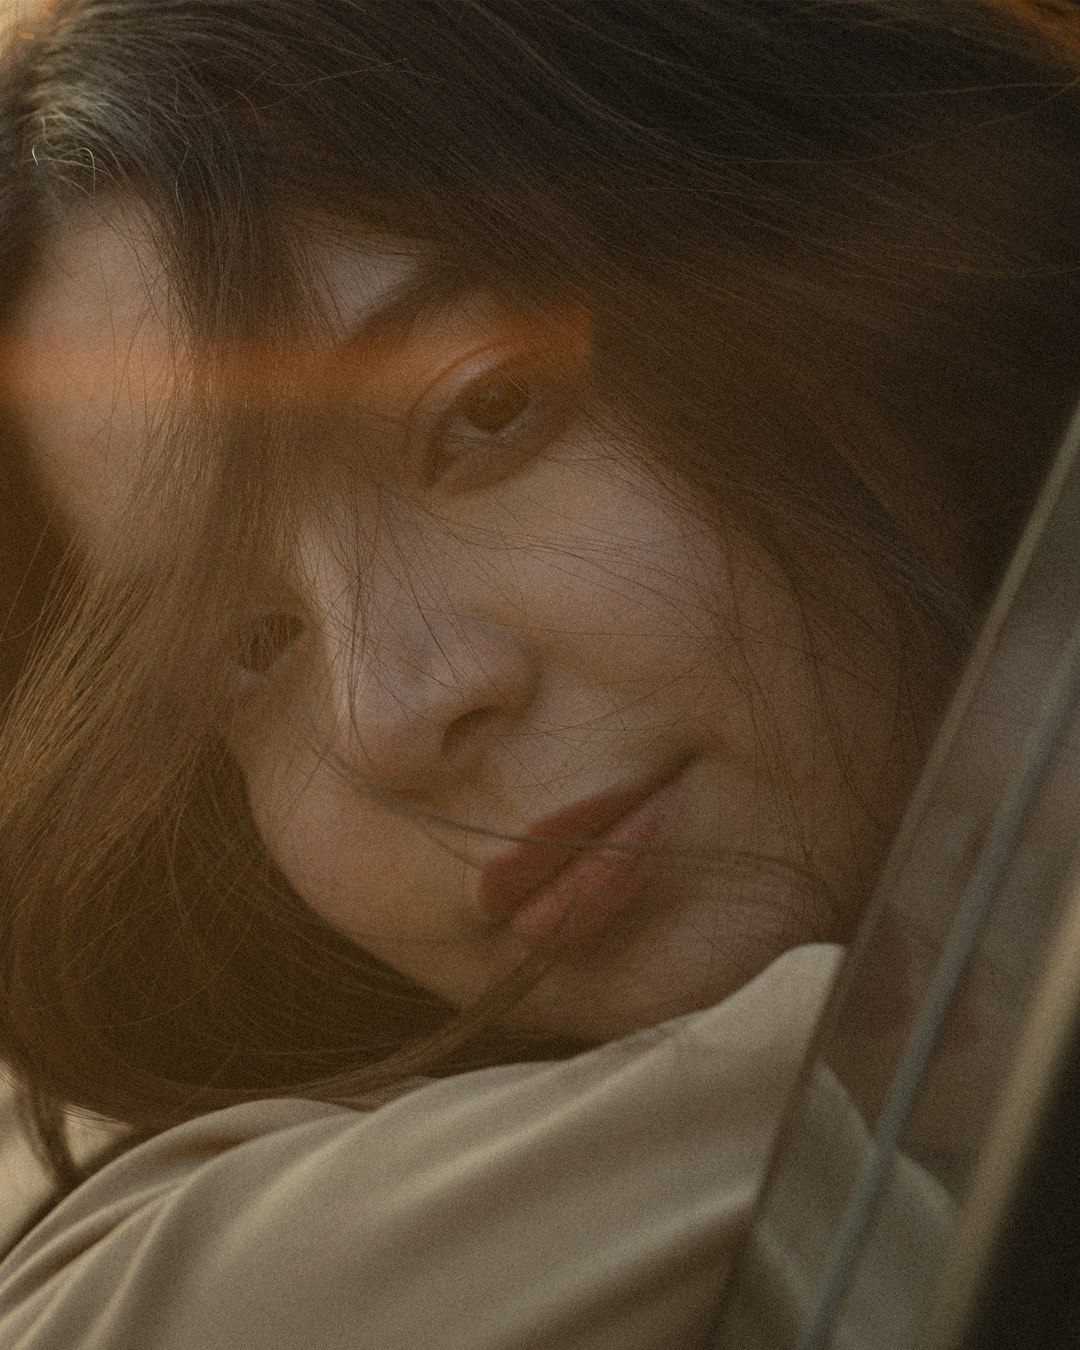
Portrait Photography
Portrait taken with wide aperture for subject isolation
Recommended Settings:
- Mode: Aperture Priority (A/Av)
- Aperture: f/1.8 to f/4 for individual portraits; f/5.6 to f/8 for group portraits
- Shutter Speed: At least 1/125 for sharp images (let camera set this in Aperture Priority)
- ISO: 100-400 in good light; increase as needed in dimmer conditions
- Focus point: Place on the subject's nearest eye
Key Considerations:
When shooting portraits with very wide apertures (f/1.4-f/2.8), be extremely precise with focus as your depth of field will be very shallow. If photographing multiple people at different distances from the camera, use a smaller aperture (larger f-number) to ensure everyone is sharp.
Landscape Photography
Recommended Settings:
- Mode: Aperture Priority (A/Av) or Manual (M)
- Aperture: f/8 to f/11 for maximum sharpness across the scene
- Shutter Speed: Variable (use a tripod if slower than 1/60)
- ISO: 100-200 for minimal noise
- Focus point: Approximately one-third into the scene or at the hyperfocal distance
Key Considerations:
For landscape photography, a tripod is essential, especially in lower light conditions like sunrise or sunset. This allows you to use the lowest possible ISO for maximum image quality while maintaining a narrow aperture for deep depth of field. Consider using mirror lock-up and a remote release to minimize camera shake.
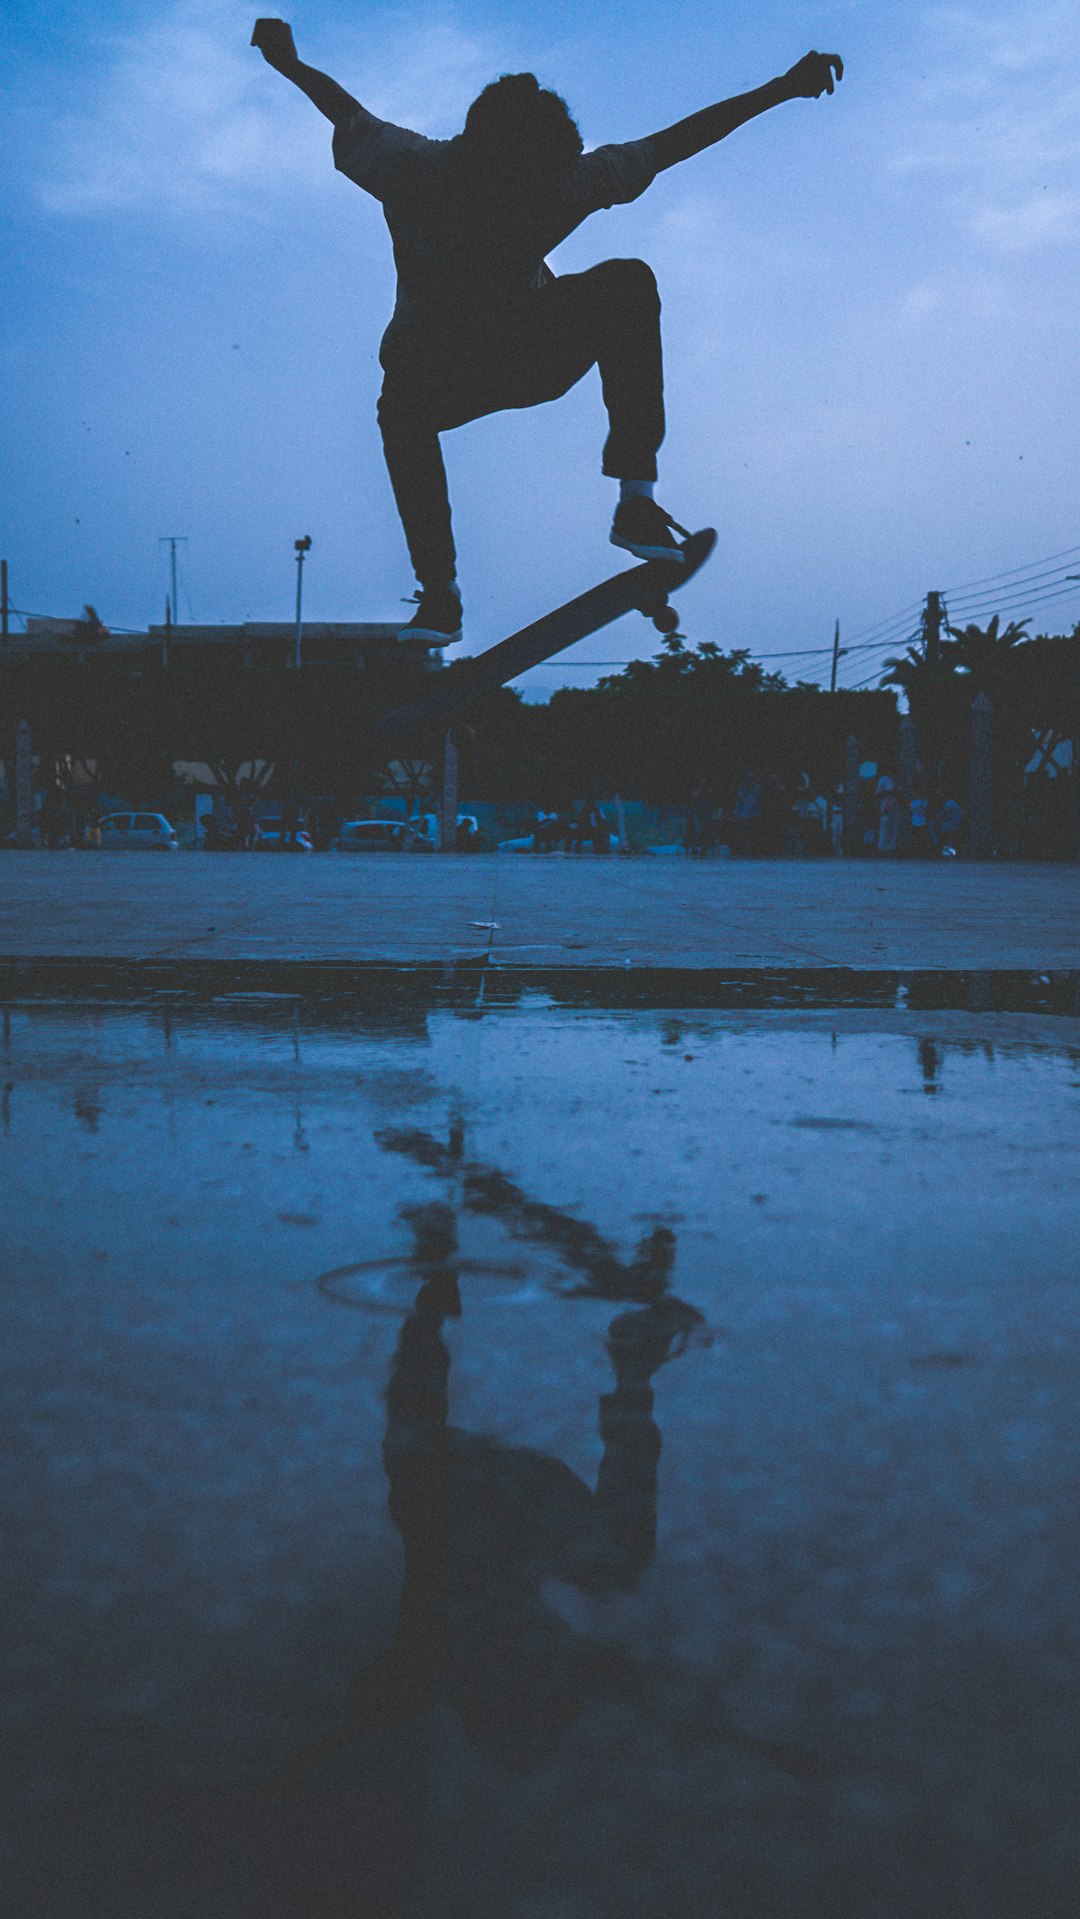
Sports and Action Photography

Fast shutter speed freezing action in a sports photo
Recommended Settings:
- Mode: Shutter Priority (S/Tv) or Manual (M)
- Shutter Speed: 1/500 to 1/2000 or faster depending on the speed of action
- Aperture: Let camera decide in Shutter Priority (typically f/2.8 to f/5.6)
- ISO: As needed to achieve proper exposure (often 400-3200)
- Focus mode: Continuous AF (AF-C or AI Servo)
Key Considerations:
For unpredictable action, use continuous autofocus and burst mode to increase your chances of capturing the perfect moment. Be prepared to increase your ISO significantly, especially for indoor sports or evening games. A fast telephoto lens (f/2.8 or faster) is ideal for sports photography.
Low Light / Night Photography
Recommended Settings:
- Mode: Manual (M)
- Aperture: As wide as possible (f/1.4 to f/4) for static subjects
- Shutter Speed: As needed (tripod essential for speeds slower than 1/60)
- ISO: Start at 1600-3200, adjust as needed
Key Considerations:
Night photography often requires balancing multiple factors. For star photography, you'll need wide apertures, relatively high ISOs, and shutter speeds that are slow but not so slow that stars begin to trail (typically 15-30 seconds depending on focal length). For cityscapes, use a tripod and longer exposures with lower ISOs for better quality.
Macro Photography
Macro photography showing extreme close-up detail
Recommended Settings:
- Mode: Aperture Priority (A/Av) or Manual (M)
- Aperture: f/8 to f/16 for adequate depth of field
- Shutter Speed: As needed (tripod recommended)
- ISO: 100-400 if possible
- Focus: Manual focus often gives more precise results
Key Considerations:
In macro photography, depth of field is extremely shallow even at narrow apertures due to the close focusing distance. Consider focus stacking for maximum sharpness throughout your subject. Also, be mindful of camera shake—even slight movements are magnified in macro work, so a sturdy tripod is essential.
Advanced Techniques and Considerations
Once you're comfortable with the basics, these advanced concepts will help you refine your approach:
Metering Modes
Your camera's metering system measures light and helps determine proper exposure. Understanding different metering modes helps in tricky lighting:
- Evaluative/Matrix: Analyzes the entire scene (good for most situations)
- Center-weighted: Emphasizes the center of the frame
- Spot: Meters from a small area (useful for high-contrast scenes)
Exposure Compensation
In semi-automatic modes (A/Av, S/Tv, P), exposure compensation allows you to override the camera's suggested exposure. This is especially useful for:
- Very bright scenes (snow, beach) - Add positive compensation (+1 to +2)
- Very dark scenes - Add negative compensation (-1 to -2)
- Backlit subjects - Add positive compensation (+1 to +2)
White Balance
Different white balance settings and their effect on image color
White balance adjusts colors to make whites appear neutral under different lighting conditions:
- Auto White Balance (AWB): Works well in most situations
- Daylight/Sunny: For outdoor photography in direct sunlight
- Cloudy: Adds warmth to compensate for blue light on overcast days
- Shade: Adds more warmth for areas in shadow
- Tungsten: Corrects the yellow/orange cast of indoor lighting
- Fluorescent: Corrects the green cast of fluorescent lighting
- Custom: Allows precise setting using a gray card or white reference
If you shoot in RAW format, white balance can be adjusted later without quality loss, making it less critical to get perfect in-camera.
Histogram Reading
The histogram is a graphical representation of your image's tonal range:
- Left side represents shadows
- Right side represents highlights
- Height represents the number of pixels at each brightness level
A "good" histogram typically has:
- No significant clipping (graph touching the far left or right edge)
- Data spread across the full range
- Shape appropriate for the scene (dark scenes will be left-weighted, bright scenes right-weighted)
Focusing Techniques
Modern cameras offer several focusing options:
- Single-point AF: Precise focusing on specific points
- Zone AF: Focuses on a small group of points
- Dynamic/Tracking AF: Follows moving subjects
- Face/Eye Detection: Automatically finds and focuses on faces or eyes
For landscapes, consider the hyperfocal distance technique—focusing at a distance that maximizes depth of field from the foreground to infinity.
Troubleshooting Common Issues
Blurry Images
If your images are consistently blurry, check:
- Shutter speed too slow - Follow the reciprocal rule (1/focal length) as a minimum
- Focus issues - Check your focus point selection and technique
- Camera shake - Use a tripod or image stabilization
- Lens problems - Clean your lens or check for damage
Overexposed/Underexposed Images
Comparison showing underexposed, properly exposed, and overexposed images
If your exposures are consistently off:
- Check metering mode - Evaluative works for most scenes, but spot may be better for high contrast
- Use exposure compensation - Adjust +/- as needed
- Bracket exposures - Take several shots at different exposures
- Check for bright backgrounds - These can fool the meter
High Noise/Grain
To reduce noise in your images:
- Lower your ISO - Use the lowest possible for the situation
- Expose correctly - Underexposed images show more noise when brightened
- Use noise reduction software - Post-processing can help significantly
- Consider upgrading - Newer camera models typically have better high ISO performance
Conclusion: Developing Intuition for Camera Settings
As you practice and experiment with different settings, you'll develop an intuitive sense for what combinations work best in various situations. The "right" settings are always those that achieve your creative vision for a particular image.
Remember that these guidelines are starting points, not rigid rules. Great photography often comes from creative rule-breaking, but it's important to understand the rules before you break them intentionally.
Keep a mental note of successful settings for different scenarios, and don't be afraid to experiment. With time, adjusting your camera will become second nature, allowing you to focus on the most important aspects of photography: composition, light, and capturing the decisive moment.
Comments (3)
David Wilson
June 10, 2024This article finally helped me understand the relationship between aperture, shutter speed, and ISO! I've been struggling with manual mode for months, but the way you explained the exposure triangle makes perfect sense. Can't wait to put these principles into practice this weekend.
Sarah Johnson
June 9, 2024Thank you for the detailed section on sports photography settings! I've been shooting my son's soccer games and was getting too many blurry shots. Tried your recommended settings yesterday and got so many more keepers. The explanation of continuous focus modes was particularly helpful.
Jessica Miller
June 9, 2024I've been taking photos for years but never fully understood the histogram. Your explanation has cleared up so much confusion! Now I can actually interpret what I'm seeing instead of just guessing. Would love to see a follow-up article that goes even deeper into advanced metering techniques.
Leave a Comment