Natural light is one of the most beautiful, versatile, and accessible resources available to portrait photographers. When used correctly, it can create stunning, emotive portraits without the need for expensive lighting equipment. However, working with natural light requires understanding its characteristics and knowing how to manipulate it to your advantage.
Understanding the Quality of Light
Before diving into specific techniques, it's essential to understand the different qualities of natural light:
- Hard light - Created by direct sunlight, producing strong shadows and high contrast
- Soft light - Diffused light (like on an overcast day) that creates gentle transitions between highlights and shadows
- Warm light - Golden hours (shortly after sunrise and before sunset) with a warm, flattering color temperature
- Cool light - Blue hour (twilight) or shade in daylight, with a cooler color temperature
Each quality of light can be used creatively depending on the mood and story you want to convey in your portrait.
Golden Hour: The Photographer's Best Friend
Portrait taken during golden hour with rim lighting
The hour after sunrise and the hour before sunset (commonly known as "golden hour") provides some of the most flattering light for portrait photography. During these times, the sun is low in the sky, creating:
- Warm, golden tones that enhance skin tones
- Soft, directional light that adds dimension
- The opportunity for beautiful rim lighting (backlighting)
- Lower contrast that's more forgiving on skin imperfections
To make the most of golden hour:
- Plan your session in advance, knowing exactly when golden hour begins in your location
- Have your subject ready and locations scouted before the light becomes optimal
- Work quickly, as this magical light changes rapidly
- Position your subject so that the low sun creates either flattering side lighting or beautiful backlighting
Working with Harsh Midday Sun
While many photographers avoid shooting in harsh midday sunlight, sometimes it's unavoidable. Here are techniques to create beautiful portraits even in challenging light:
Find Open Shade
Open shade refers to areas that are shaded from direct sunlight but still receive ambient light from the open sky. Look for:
- The shadow side of buildings
- Under trees with a canopy that filters light
- Covered porches or overhangs
The benefit of open shade is that it provides soft, even light while eliminating harsh shadows on your subject's face.
Use a Reflector

Using a reflector to fill shadows in outdoor portrait
A reflector is an invaluable tool for natural light portrait photography. It allows you to:
- Bounce light back into shadow areas of your subject's face
- Create catchlights in the eyes
- Add dimension to an otherwise flat-lit portrait
For outdoor portraits, a 5-in-1 reflector gives you multiple options: silver for maximum reflection, gold for warming, white for subtle fill, and black for subtracting light when needed.
Window Light: The Indoor Natural Light Studio
Window light is one of the most beautiful sources of natural light for indoor portraits. A large window essentially functions as a soft box, creating directional yet soft illumination.
Positioning Your Subject
How you position your subject relative to the window dramatically changes the look of your portrait:
- Facing the window - Creates flat, even lighting that's flattering for most subjects
- At 45° to the window - Creates Rembrandt lighting with a small triangle of light on the cheek opposite the window
- 90° to the window (profile) - Creates dramatic split lighting
- Back to the window - Creates silhouettes or, with proper exposure, a glowing rim light effect
Controlling Window Light
You can modify window light in several ways:
- Use sheer curtains to diffuse harsh direct sunlight
- Use black foam board on one side of your subject to create more dramatic shadows
- Use a white reflector opposite the window to fill in shadows
- Block part of the window with a card to create a more directional light pattern
Backlighting: Creating Atmosphere and Dimension
Backlit portrait with rim lighting effect
Backlighting (positioning your subject with the light source behind them) creates a magical quality in portraits. It can:
- Create a beautiful rim light around your subject
- Make translucent elements like hair glow
- Add depth and dimension to your image
- Create a dreamy, atmospheric quality
To successfully shoot backlit portraits:
- Use spot metering and meter from your subject's face
- Expose for the skin tones, allowing the background to be overexposed if necessary
- Use a lens hood to prevent lens flare (or strategically incorporate flare for creative effect)
- Use a reflector to bounce light back onto your subject's face if it's too dark
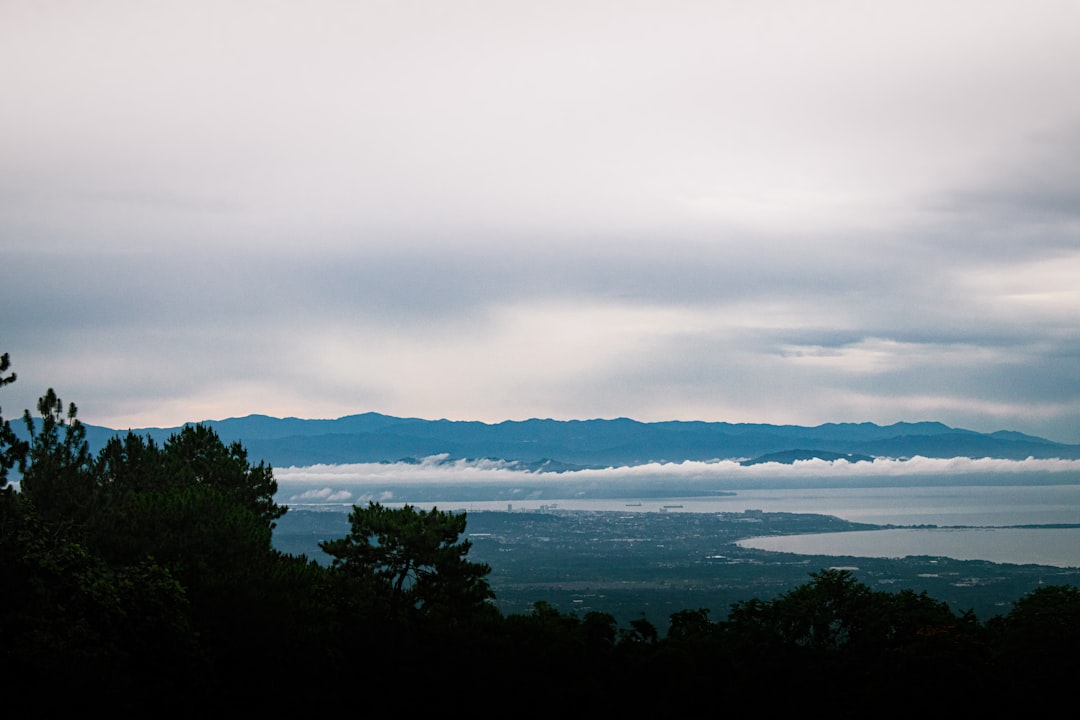
Cloudy Days: Nature's Soft Box
Overcast days provide incredibly soft, diffused light that's perfect for portraits. Without the directional quality of sunlight, cloud cover creates even illumination that's flattering for all subjects.
Benefits of shooting on cloudy days include:
- Minimal shadows and reduced contrast
- The ability to shoot at any time of day
- Even illumination across your subject
- Greater flexibility in positioning and composition
To make the most of cloudy day portraits:
- Increase your ISO slightly to compensate for lower light levels
- Consider adding a pop of color in clothing or background to counter the flatter light
- Use a reflector under your subject's face to add catchlights to the eyes
Camera Settings for Natural Light Portraits
Understanding how to set your camera for various natural light conditions is crucial:
Aperture
For portraits, aperture controls both exposure and depth of field:
- f/1.4 - f/2.8: Creates beautiful background blur and subject isolation, ideal for individual portraits
- f/4 - f/5.6: Good balance between subject isolation and ensuring facial features are sharp
- f/8 - f/11: Better for group portraits to ensure everyone is in focus
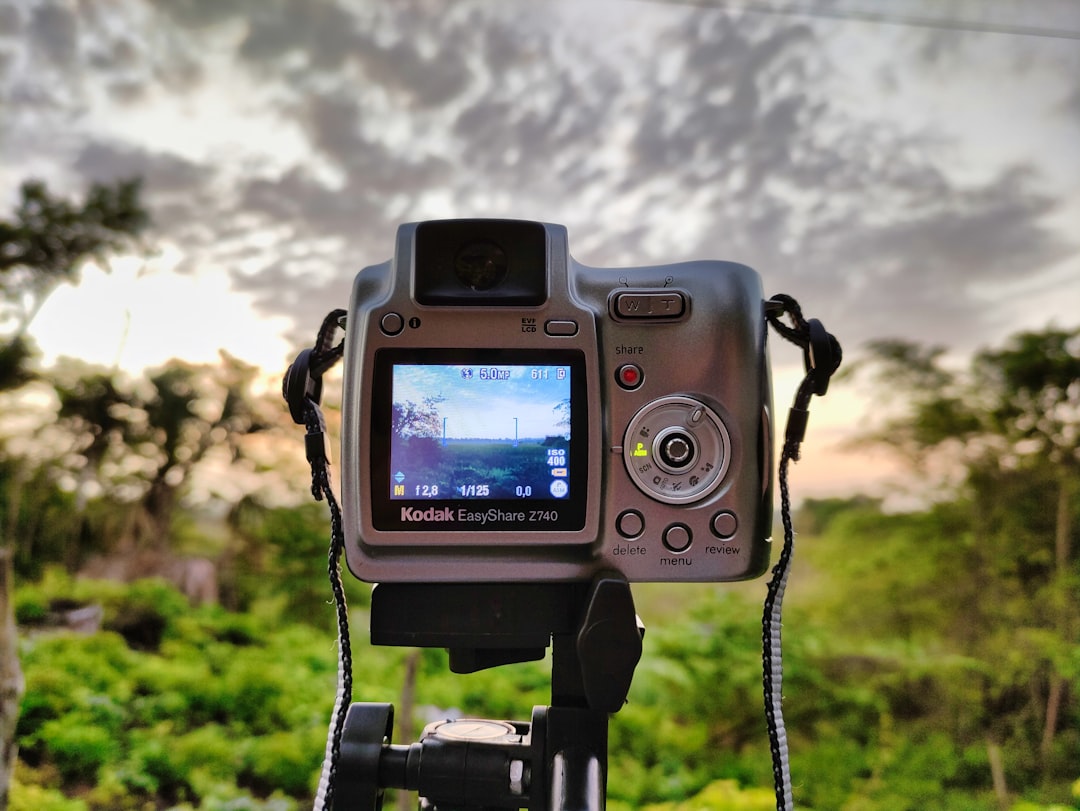
Shutter Speed
For sharp portraits:
- General rule: Shutter speed should be at least 1/focal length to avoid camera shake
- For moving subjects (especially children): Aim for at least 1/250 sec
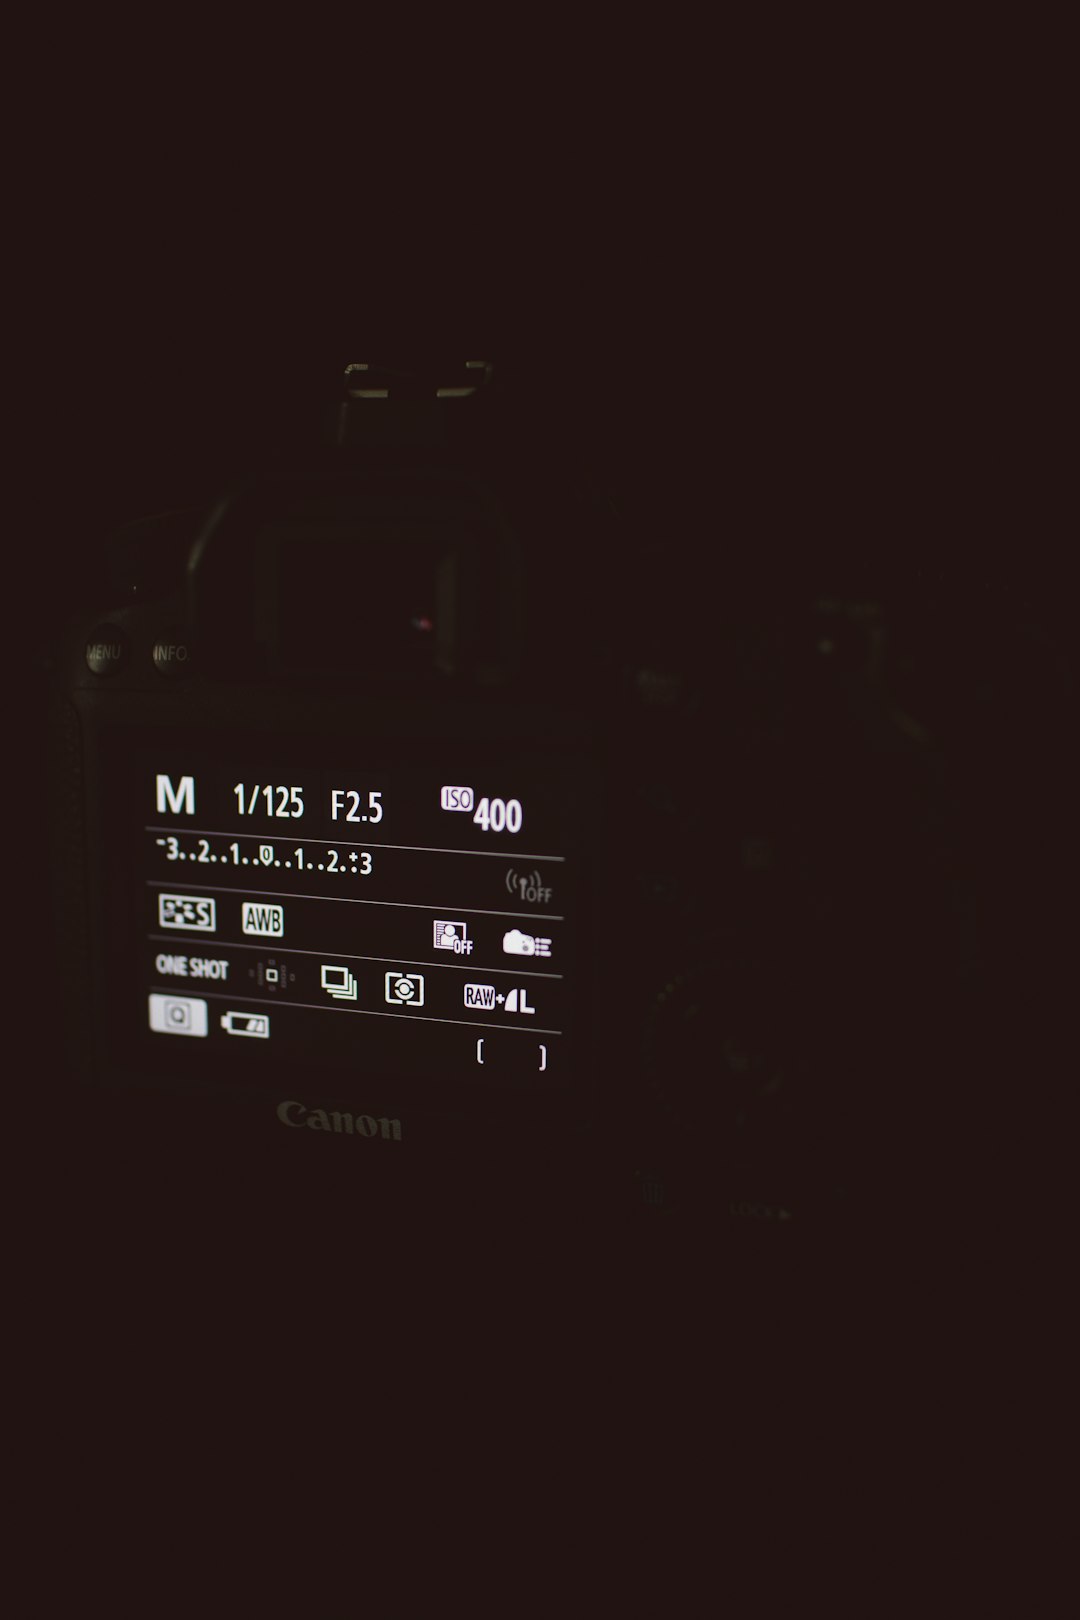
ISO
Balance image quality with available light:
- Bright conditions: Keep ISO low (100-400) for maximum image quality
- Lower light: Increase ISO as needed, understanding your camera's capabilities
Conclusion
Mastering natural light portraiture is about observation, understanding light qualities, and learning to work with the conditions available to you. With practice, you'll develop an intuitive sense of how to position your subject for the most flattering light in any environment.
Remember that "perfect" light isn't always necessary for a compelling portrait. Sometimes, dramatic or unusual lighting can create the most memorable and emotional images. The most important thing is to understand the light you have available and use it creatively to tell your subject's story.

Comments (5)
Sarah Johnson
June 21, 2024This article is incredibly helpful! I've been struggling with harsh shadows in my portraits, and the tips about using reflectors are exactly what I needed. Can't wait to try these techniques this weekend.
Michael Chang
June 21, 2024Great breakdown of different lighting scenarios. I've always avoided shooting in midday sun, but your tips make me want to experiment with it. Any recommendations for a good portable reflector?
Emma Roberts
June 21, 2024Thanks, Michael! I recommend a 5-in-1 collapsible reflector around 42 inches. The Lastolite or Westcott brands are excellent quality, but there are also more budget-friendly options that work well too.
Jessica Miller
June 20, 2024The section on window light is gold! I've been experimenting with indoor portraits, and positioning my subjects at different angles to the window makes such a difference. Would love to see a follow-up article on working with mixed lighting situations.
David Wilson
June 20, 2024As someone who's been shooting for years, I still learned some new techniques from this article. The diagrams showing different window light positions are particularly helpful. Bookmarking this for future reference!
Leave a Comment